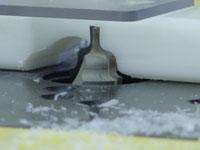
The Chip Break
Why make a chip break?
Decorative bits, like the roman ogee, tend to cause chipping or tear out in wood. The bit cuts until it is halfway through its rotation, then it starts to push the wood away from the fence creating a space. If there is space between the fence and the bit on the in feed side of the fence, the wood will splinter rather than cut. This causes tear out on your project piece. If you eliminate this space, the splinters will break off clean at the fence. This chip break insures a clean cut.
If you use many cutters with different profiles it is a good idea to keep a stock of table fences available to be used with this chip breaker feature. Note: Before trying these procedures make sure your router is unplugged and the router bit is tightly fastened into the collet. The secret to being safe, accurate and fast is to first understand the setup techniques then to practice, practice and practice again. The above tip is one of the most used router setups and once it is mastered it will serve you well when making quality woodworking projects.
Step One: Setting The Router Bit
Chuck up a router bit with the profile of your choice in the table mounted router. You will be transfering this profile into your table fence.
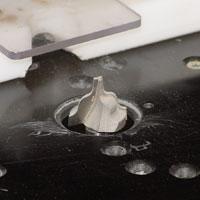
Step Two: Position The Fence
Clamp the out feed side (furthest away from the operator) of a new fence to the router table. Be sure this position is in line with the router bit.
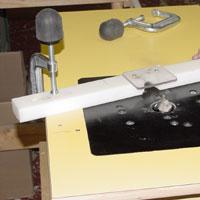
Step Three: Creating The Chip Break
Keeping the fence angled to the right and well away from the router bit, plug in the router and turn it on. Swing the fence SLOWLY into the moving cutter. The bit shape (or profile) will be cut into the infeed side of the fence.
Be careful not to push it all the way through but far enough so there is extra space than the cutter itself. Turn OFF the router and unplug it.
The exact profile of the bit which was just cut into the leading edge of the fence will act as a chip break when your work piece is being cut.
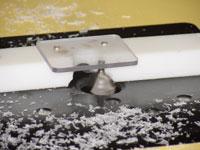
Step Four: Clamp the infeed in position
Adjust the fence so that the desired amount of the bit profile is exposed. Be sure that BOTH sides of your fence are now clamped securely into place. Plug in your router, turn it on and make a test cut.
Test your skills
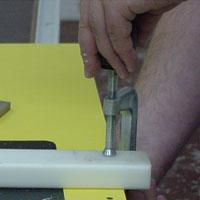
Once you have completed the chip break, test your set up skill by isolating the cutting edge of the router bit to equal the out and in feed of the router fence. Use a plunge cutting bit like the Plunge Roman Ogee bit shown and expose the full profile with the height set at 1/8" profile line.
