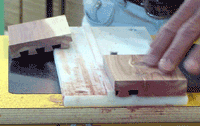
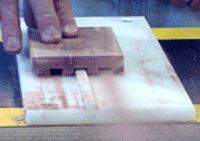
Easy To Make Box Joints & Dovetails!
On "the Router Workshop" we use spacer fences to make decorative box joints, dovetail splices, and sliding dovetails. When making box joints with a spacer fence remember the bit, the fence and the space (between the fence and the bit) are equal. The only two things that can go wrong with a box joint is it can be too tight or too loose. In this router tip we learn the basic principals of the box joint as well as the spacer fence set up!
Setting Up For Box Joints
Be sure the router is unplugged. To set up for 3/8” box joints, chuck up the 3/8” spiral (straight) bit in a table mounted router. Clamp the 3/8” spacer fence to the table with a 3/8” space between the fence and the bit. (If you are using the Router Workshop Table Top the bolt holes for the 3/8” spacer fence are predrilled so you can bolt it into place.)
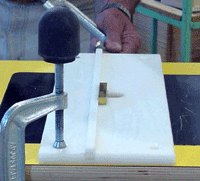
Always run a test piece to check the fit (we clamp 2 pieces of 3/8” thick material together). Use a push block to hold the pieces in a vertical position.
Set the depth of cut so that it is slightly more (higher) than the material thickness.
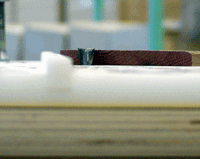
Start the router and cut the first box joint. Place the first cut over the spacer fence and make the second cut and continue until finished.
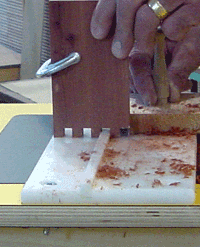
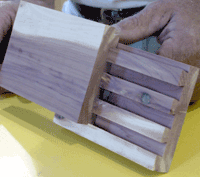
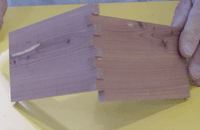
Unclamp the two pieces and check the fit. Since we did not offset the two peices by 3/8", we did not end up with flush edges on this test peice.
Adjusting The Fit
If it is too tight, tap the fence towards the bit. If it is too loose, tap the fence away from the bit. When you have the fit you want, drill bolt holes in your router table (if not predrilled), install bolts and wingnuts and tighten. You are now set to make 3/8" box joints.
Making A Box
A box is made up of two sides and two ends.
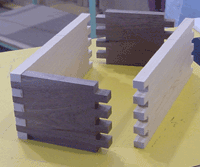
Mark one edge of all four pieces.
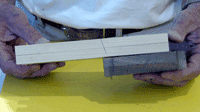
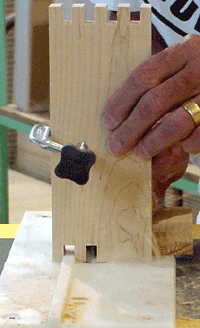
The two end pieces require a groove cut first on both ends. To do this we need an offset block.
The Offset Block
What is an offset block? The offset block repositions the stock on the fence so that the groove cut will be first. This allows a groove in the end piece to fit with a box pin in the side piece.
Use a 1" or 1 1/2” thick by 4” wide and 10” long piece of clear straight stock. With the spacer fence set up correctly to cut box joints, cut a 10" long groove in the block. Mark this piece of wood as an “Offset Block” and keep it handy for future use.
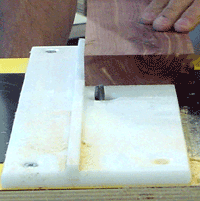
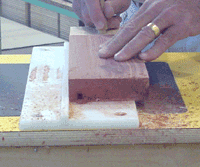
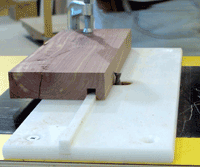
Using An Offset Block
Place the full length groove of the offset block over the 3/8" spacer fence. The edge of the offset block should just touch the cutting edge of the bit. Clamp the offset block to the table in this position. Now clamp the two end pieces together (marked edge towards the fence) and make the groove cut on both ends.
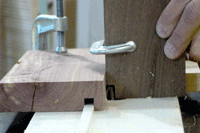
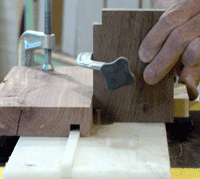
When the router has come to a complete stop remove the offset block and continue cutting the box joints on these pieces. Now you have perfect box joints with the top edge flush!
Making Dovetails With A Spacer Fence
The 3/8" spacer fence can also be used with a 1/2" dovetail bit to make dovetail spices and sliding dovetails. Please note this jig is not used for making dovetails on corners.
Setting Up For The Dovetail Splice
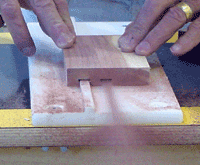
Use a 1/2” 14 degree dovetail bit in a table mounted router. Bolt the 3/8” spacer fence over the table with a 1/2” space between the fence and the bit. This space is measured from the bottom of the dovetail profile, not the tip. Set the height of the bit at approximately 5/16” so the slot will fit over the spacer fence.
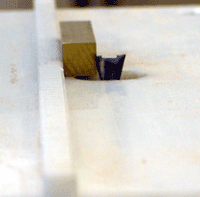
It will be necessary to drill another hole for the dovetail bit operation (predrilled in the Router Workshop Table Top). Remove the bolt in the end of the spacer fence closest to the operator. Tap the fence to the right and clamp in position as described above and run a sample. When you have the proper fit, drill a hole through the left side of the spacer fence and table.
Again, check your fit by clamping two pieces of 3/8" thick material together (make sure the bottoms are flush) and cutting dovetails in one end. To adjust the fit, raise the bit to make it tighter and lower the bit to loosen.
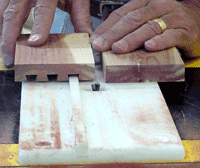
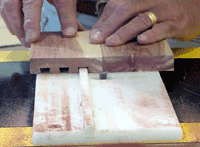
Once the fit is correct, you are now ready to cut dovetail splices. The two pieces will have to be offset 1/2" (the size of the bit).
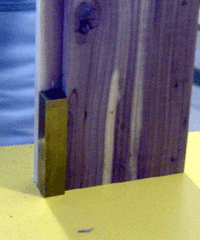
Lift the groove over the spacer fence and cut the next groove. Repeat this procedure until the dovetail slots are cut along the entire end.
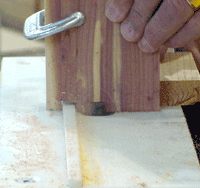
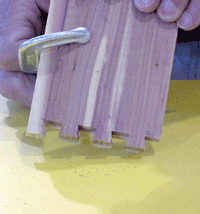
Sliding Dovetails
To make sliding dovetails simply follow the same procedure as with dovetail splices except you would lower the height of the cutter. This loosens the fit and allows the two pieces to slide easily. These linear cuts are better suited for 3/4" stock or greater.
