Shop Coat Hanger (Part 2)
Today we will put the finishing touches on our shop coat hanger by using a large and small diameter round over bit in a table mounted router. A large round over bit can quickly turn any square cornered project into a more eye pleasing item and give it that "finished" look.
Project Planning
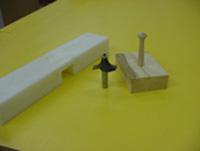
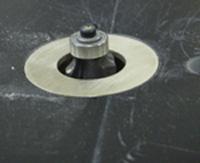
The bit we selected was a 3/4" round over bit but a large cove bit would also work fine. A thicker fence and push block are required because of the height of bit above the plate.
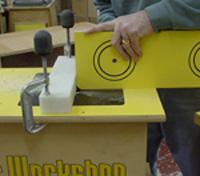
Set Up
Isolate the bearing and clamp the fence into position. One pass and the corner is quickly turned into a 3/4" radius. Always feed the face side of the coat hanger into the bit and keep the push block tight to the back side of the hanger and fence.
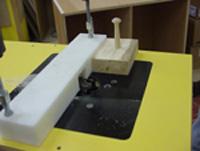
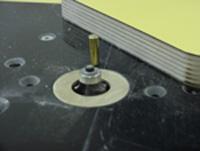
We put a black edge on the face side of the hanger with a 1/8" round over bit that took the sharp edge off the yellow laminate and left a black line. Use the safety guide pin for support when starting the cut.

Finishing Touches
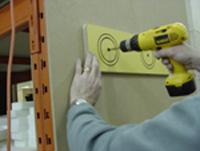
To accent the circle recess cuts, paint the plywood black. Remove any paint on the surface with the proper cleaner. The result is black circles around the shaker pegs to match the black line on the face edge of the coat hanger.
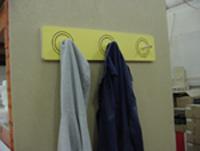
Screw the coat hanger into position through the partially drilled 1/2" holes for the shaker pegs. Insert the shaker pegs and you have a permanent home for a shop coat or smock!