Trimming Laminate Edges
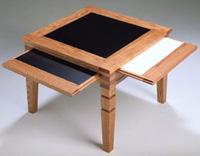
In episode 407 of Series 4 of the Router Workshop we built a unique square coffee table with pullouts. Today’s tip shows the shop made fence we used to trim laminate edges quickly and accurately.
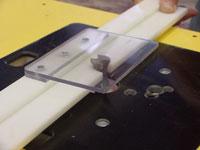
The Fence
This fence will allow you to trim both the top and bottom edges of laminate at one time using any straight router bit. You no longer have to clean the contact cement build-up on your ball bearing flush trim bit.
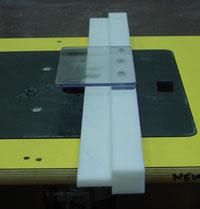
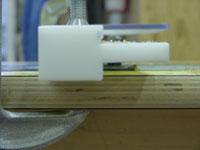
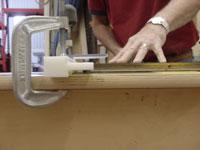
We used polyethylene to make our fence. The fence has a 3/8” wide tongue that supports the core material as the laminate is trimmed.
The Set Up
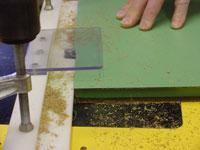
Set up a straight bit in the router table and cut a recess in the fence for the cutter by clamping the out-feed end to the table and swing the fence into the rotating bit.
Next place a piece of straight material across the in-feed and out-feed and move the fence until the router bit is flush with the tongue edge. Clamp the in-feed side of the fence in place.
Run a test using scrap material to be sure it is set up correctly.
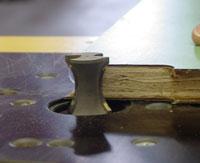
Running The Stock
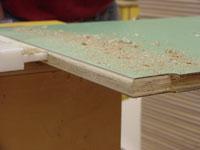
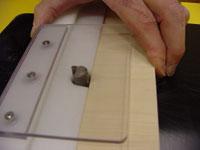
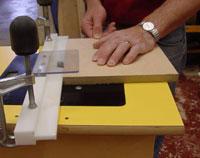
We are using a plywood core with laminate applied to the top and bottom that overhangs the edges. Run the laminated stock past the cutter. This will trim both the top and bottom simultaneously.
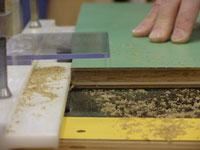
This method also works well if you are trimming stock that already has edge trim.
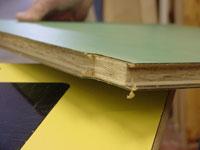
You may want to tap the fence out a little to leave a 1/16” overhang and then trim up using a bearing flush trim bit.
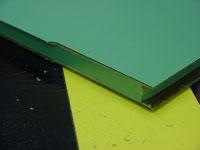
Bullnose Edges
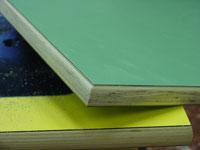
You can also use a bullnose profile cutter with this same fence. This will trim the laminate from the top and bottom as well as finish the edges with a clean bullnose cut.
Use the same set up as above. Be sure the relief in the fence in large enough for this cutter.
Setting the bit height for this cut is very important, the stock should be in the center of the bit profile.
Set the fence so the bit is flush with the tongue edge. Run a test using scrap material to check the set up.