Modifying The Table Fence
Sometimes we run across a situation where a special fence is required to complete our project. Instead of making a specific "special fence" we are going to alter our standard 1" polyethylene fence to make it higher and also turn it into a jointer fence.
Set-Up
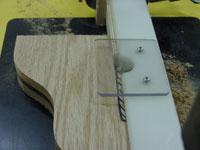
The material we are cutting is 1 1/4" thick so a 1" high fence must be raised to allow the material to pass under the guard. Double stick tape two pieces of 1/2" plywood to the underside of the fence as shown.
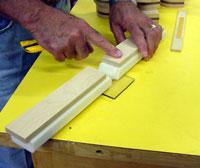
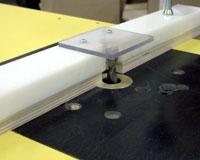
We want to cut a 1/4" notch along the bottom of the foot to create a "toe". To create the 1/4" jointer fence simply double stick tape a peice of 1/4" plywood to the outfeed end of the fence.
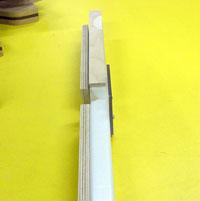
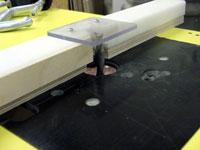
We used a piece of plywood to flush the bit to the edge of the outfeed side. Now we have a 1/4" jionter fence that is 1 1/2" high.
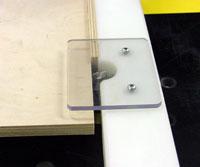
Making The Cut
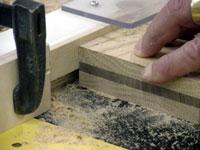
Mark the length of toe on the material. If we were to clamp a stop block on the outfeed plywood now and run our pieces, we would end up with tear out when we stop at the toe. To prevent this, we must start our cut at the end of the toe and cut approximately 3/4" or so. Remove the 1/4" plywood from the outfeed end of the fence. Clamp a stop block on the infeed end of the poly fence where the start of the toe cut is marked. Start the router, rest the 90 degree edge of the foot against the stop block, push the material into the bit and cut approximately 1/2" ro 1" long. Do all six pieces.
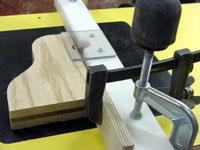
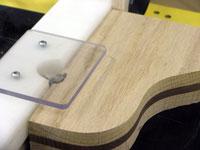
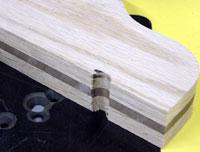
To cut the rest of the notch along the bottom of the foot, double stick tape the 1/4" plywood back on the outfeed end of the fence. Set the length of cut by clamping a stop block on the plywood. Start the router and cut the notch in all six pieces. As the notch is being cut, the outfeed plywood provides support for your material while the poly supports the toe.
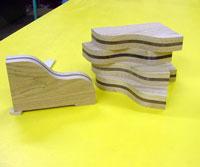
With this procedure there is no measuring. The thickness of the outfeed material will be the depth of the notch cut. This is one situation where both metric and imperial can get along together!
