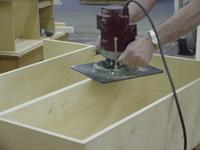
Cutting Shelf Dado's: The Router VS. The Saw
We made a shelving unit recently and cut the dado's with the table saw and the router. The results were surprising as we will see in today's tip.
Common Methods
There are two common methods to cut dado's for shelving. One is to use dado blades on the table saw. The other is to use the router either table mounted or hand held.
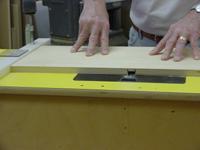
We will point out some of the advantages and disadvantages of each procedure.
Project Planning
First of all determine what material you wish to cut, melamine, plywood, veneer board, solid wood, MDF or any other number of products on the market. How thick is the material and more important, does it vary in thickness from one sheet to the next. Our shelving was made with 3/4" baltic birch plywood with a 1/4" baltic birch plywood back. The space between the shelf is 13" for holding binders, books, etc. The four units were mounted on top of a long counter. The uprights were screwed together and the back attached to the wall studs.
Cutting The Dado's
Table Saw:
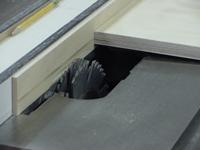
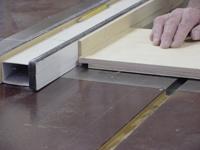
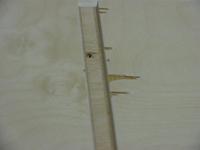
The dado blades can be shimmed to match the shelf thickness. If the material thickness varies, then shim to the thickest piece. The plywood we used has 13 layers of plywood veneer. A throat plate provides support when using dado blades but even then the veneer can splinter occasionally.
Router:
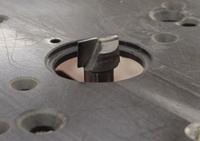
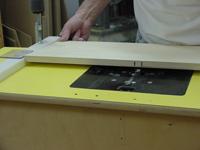
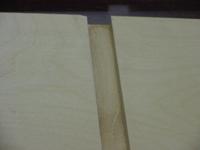
Any 3/4" straight router bit can be used to cut the dado's. Because the bit cuts on both sides it leaves a clean line. Our uprights were only 41 1/4" long which allowed us to cut the dado's from both ends using the table mounted router.
Hints
If your uprights are too long for the router table, use the router hand held to cut the dado's. Clamp the uprights together and cut dado's in both pieces at once.
Finishing
We applied two coats of clear satin varathane to all our pieces prior to assembly and then touched up later after rounding the edges with a small round over bit in a hand held router.
