Attaching The Kitchen Stool Seats!
In Series 1100 Project 1102 we used a Lazy Susan hardware to make the kitchen stool seat swivel. The challenge is to mount the hardware between the top and bottom seat peices, keeping the edges flush.
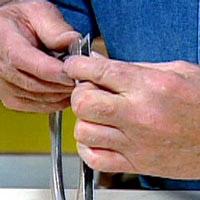
Thickness of the hardware
The thickness of the hardware if surface mounted would leave too much of a gap between the split seat.
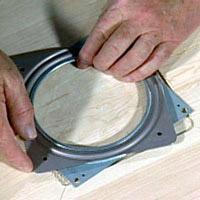
Cutting The Recess or Cavity
Using the pattern you made, cut a 1/8” deep cavity for the Lazy Susan hardware in both the bottom and top seat pieces. After both cavities are cut check the fit and dry assemble the hardware into the cavities. To mount this hardware in the bottom half, position the hardware in place and secure with the mounting screws.
Cutting The Access Hole
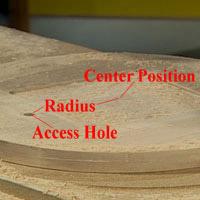
In order to attach the hardware to the underside of the top half of the stool seat, you need to have an access hole for the mounting screws.
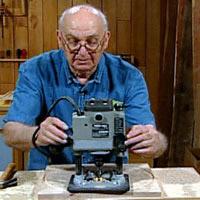
Here is the procedure to make this hole using a router.
Step 1: Determine the hole-position by measuring the distance between the mounting holes.
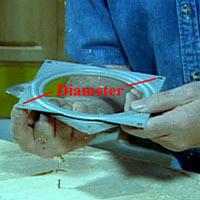
To set the router up to cut this access hole we will use the same circle jig that we used to cut the outside edge. We need to re-position the center to match 1/2 the diameter or the radius of the mounting screws.
Final Assembly
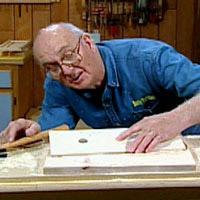
That’s it folks next is the assembly of the top to the bottom of the swivel stool seat. Screw the hardware to the bottom seat. Position the top seat over the hardware, move the access hole in the bottom seat around until it lines up with the screw hole, and attach. Swivel the base and repeat until all screws are mounted.
